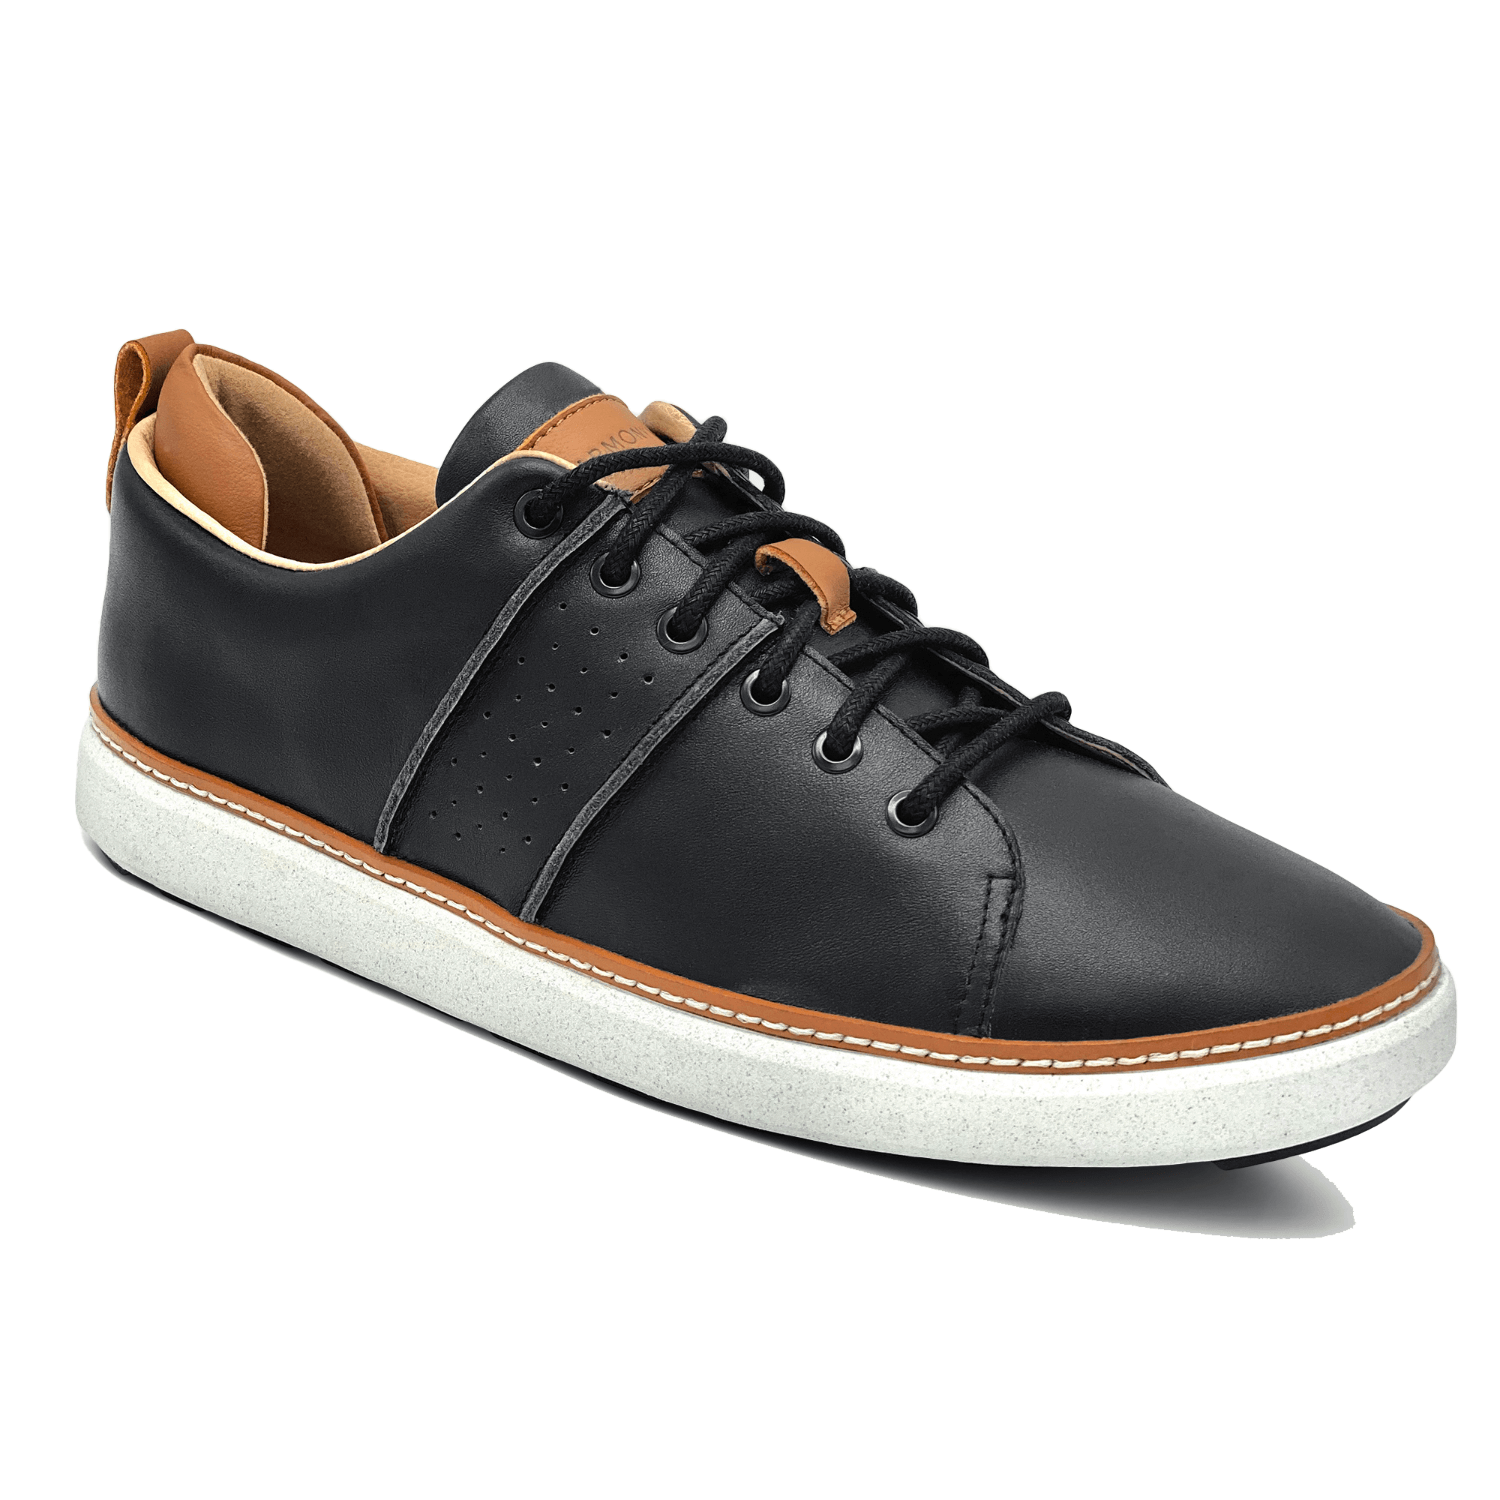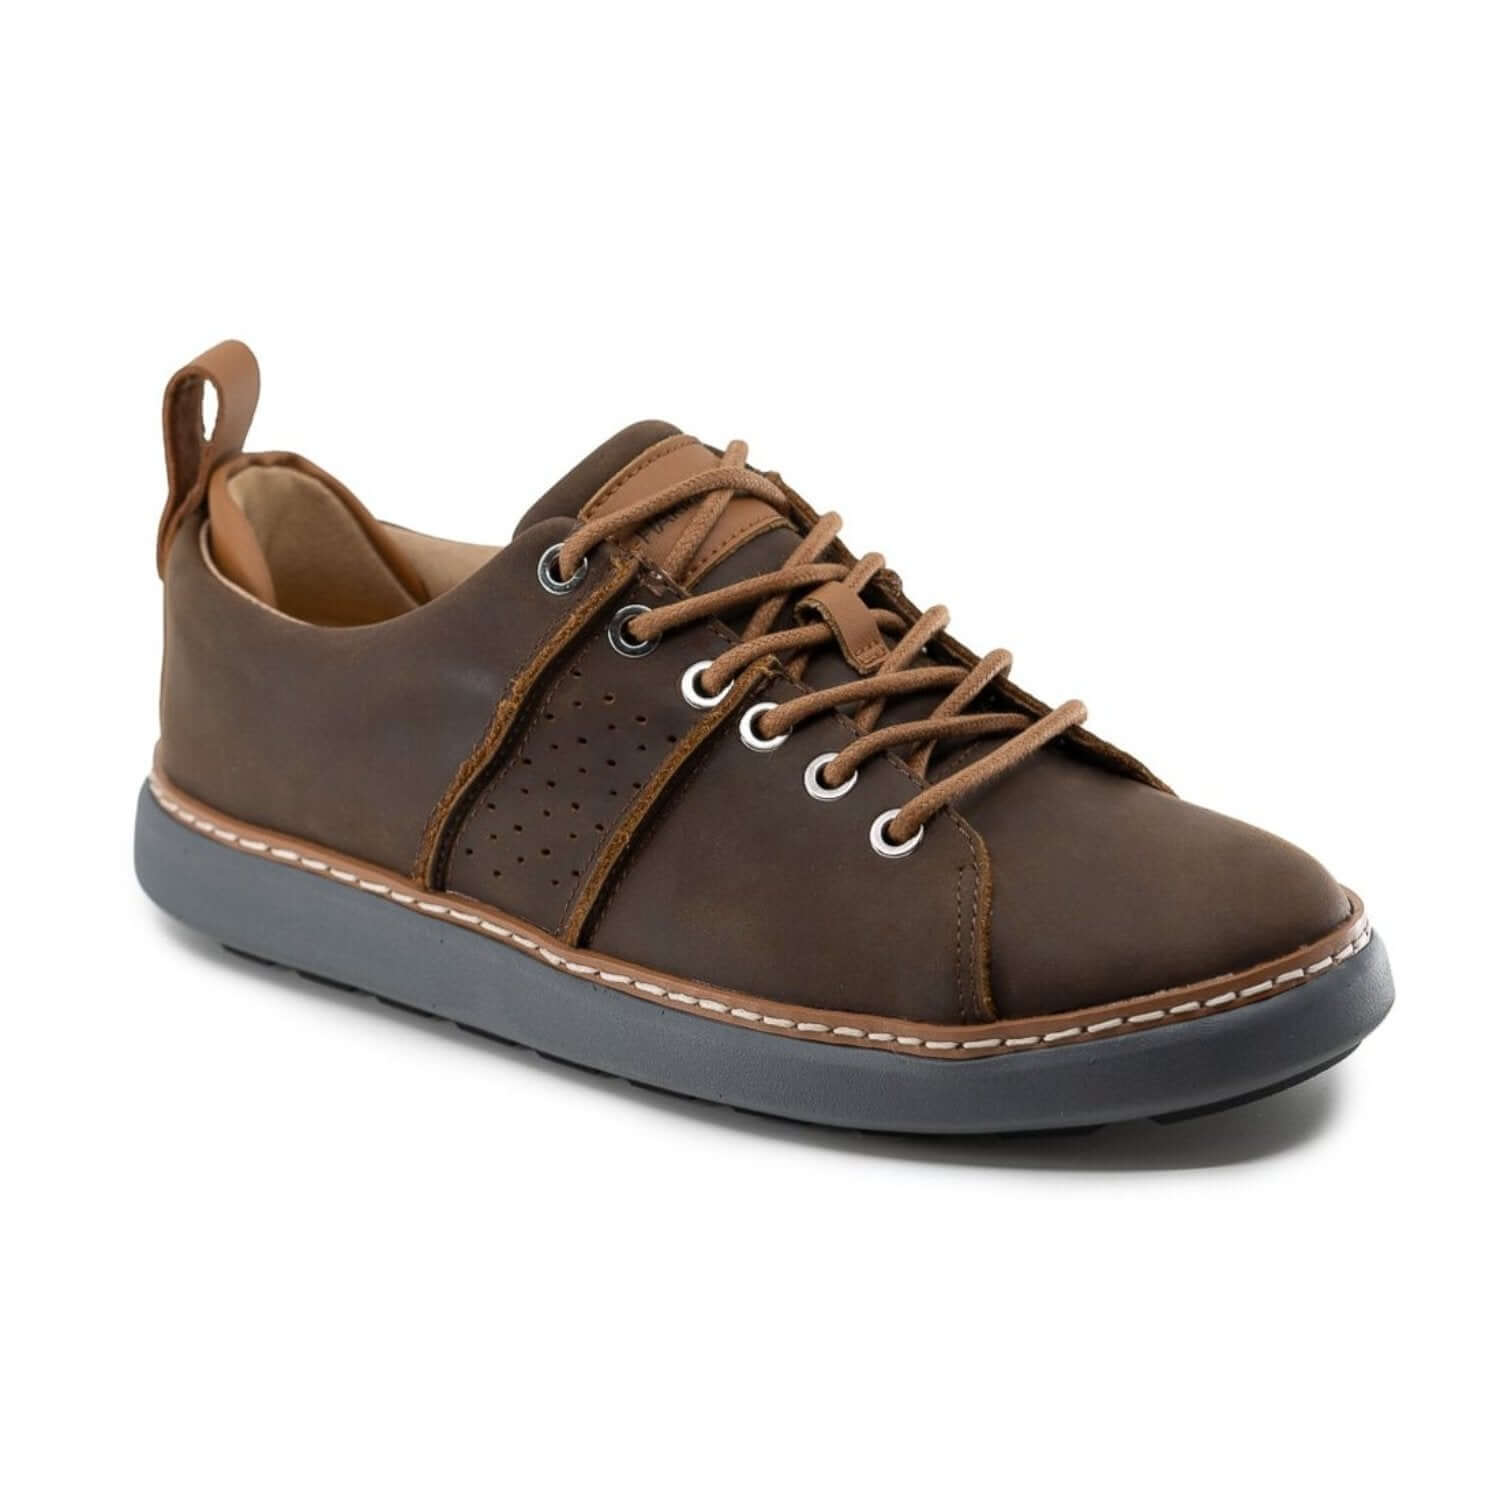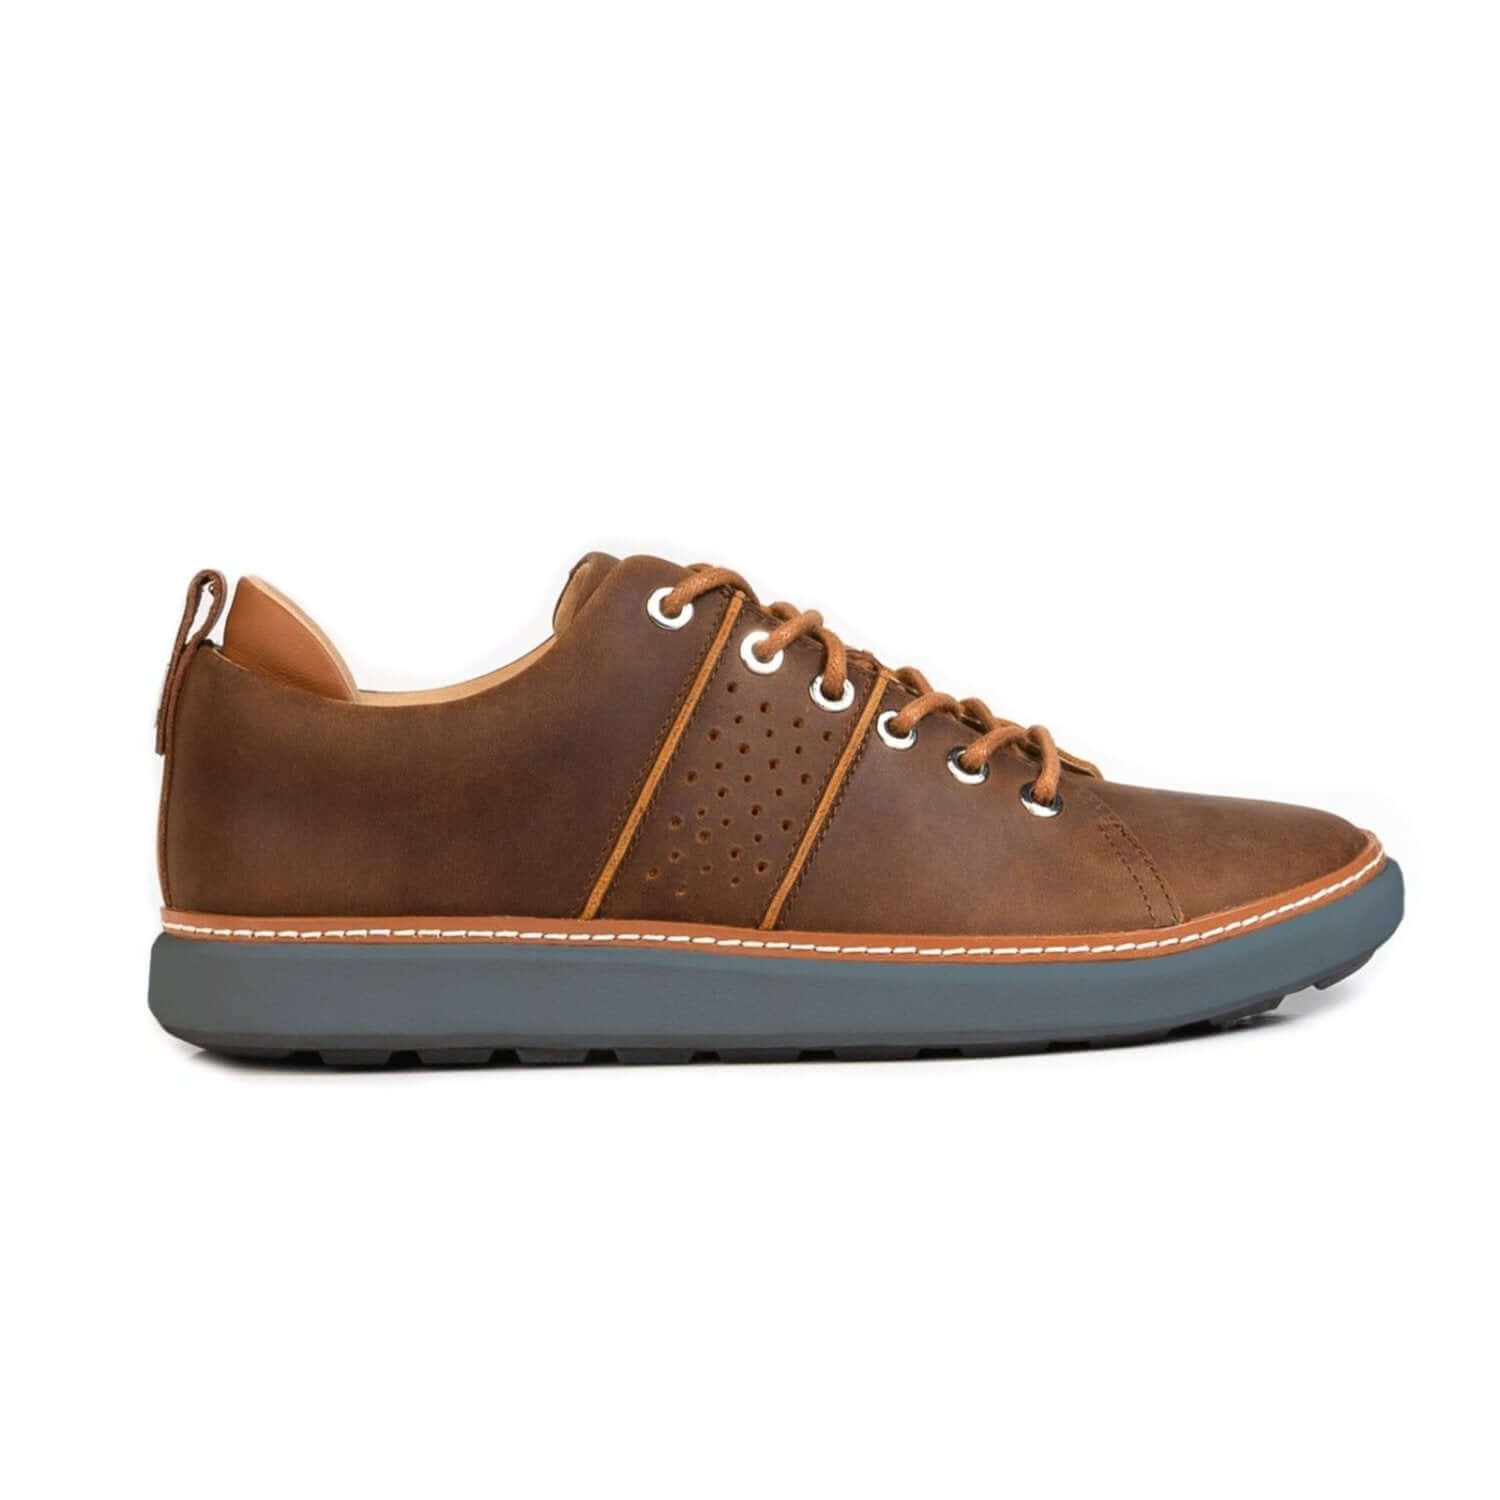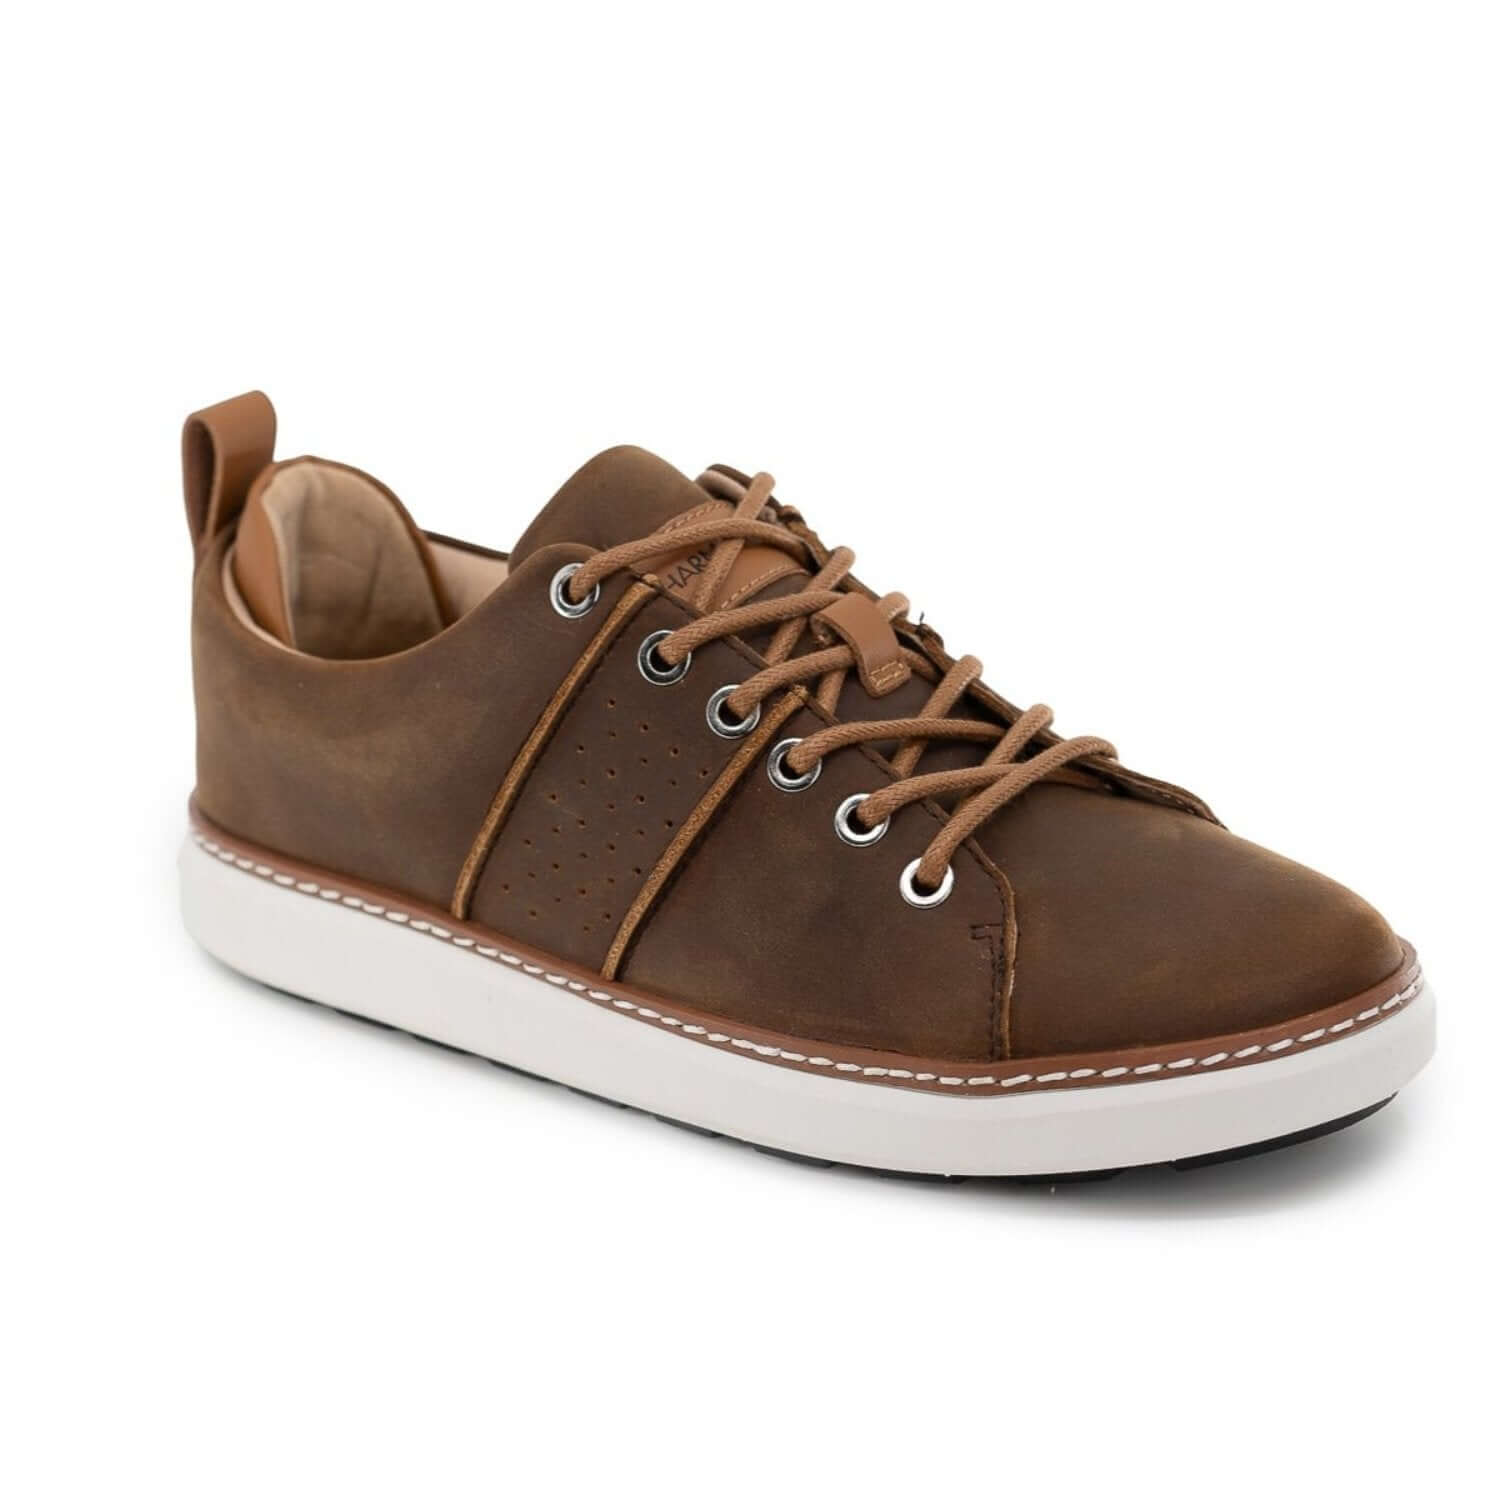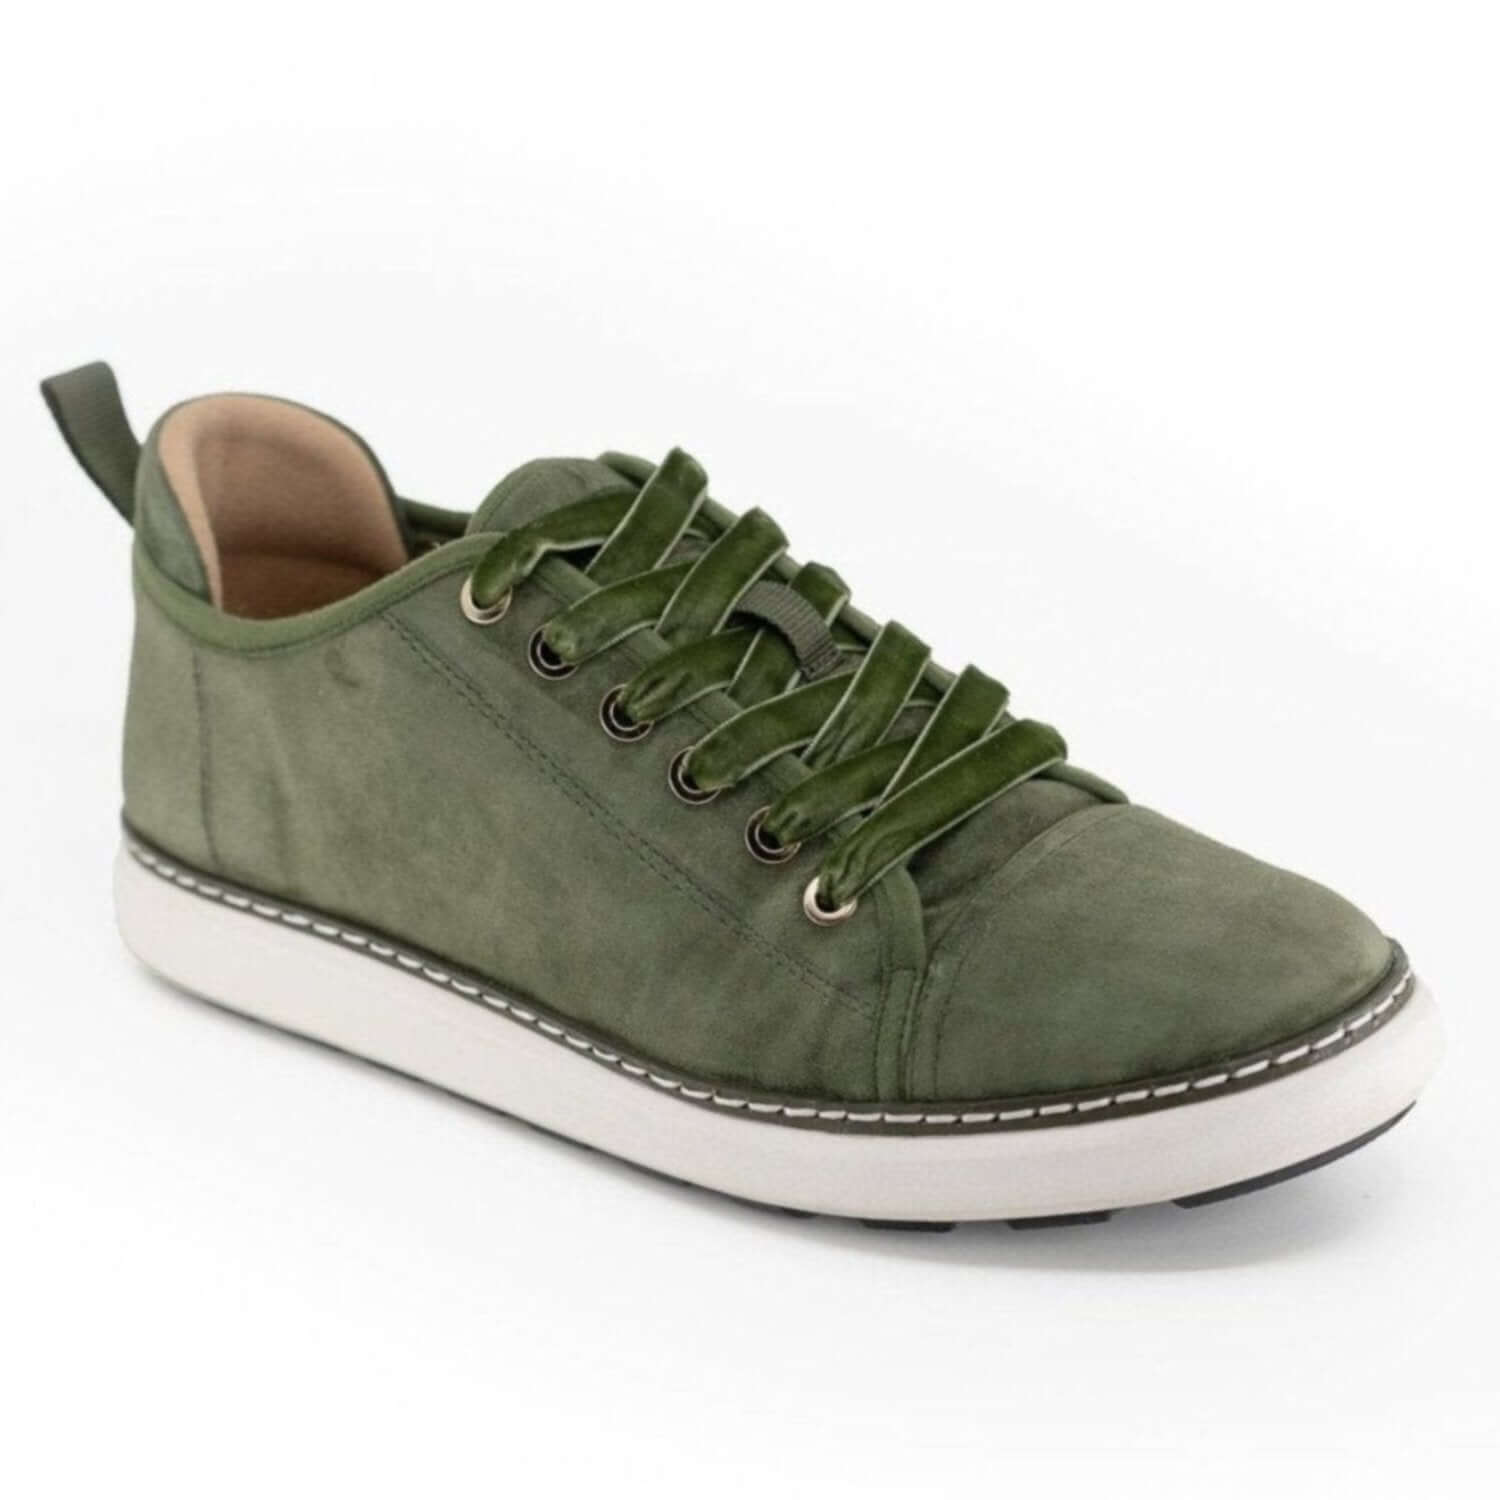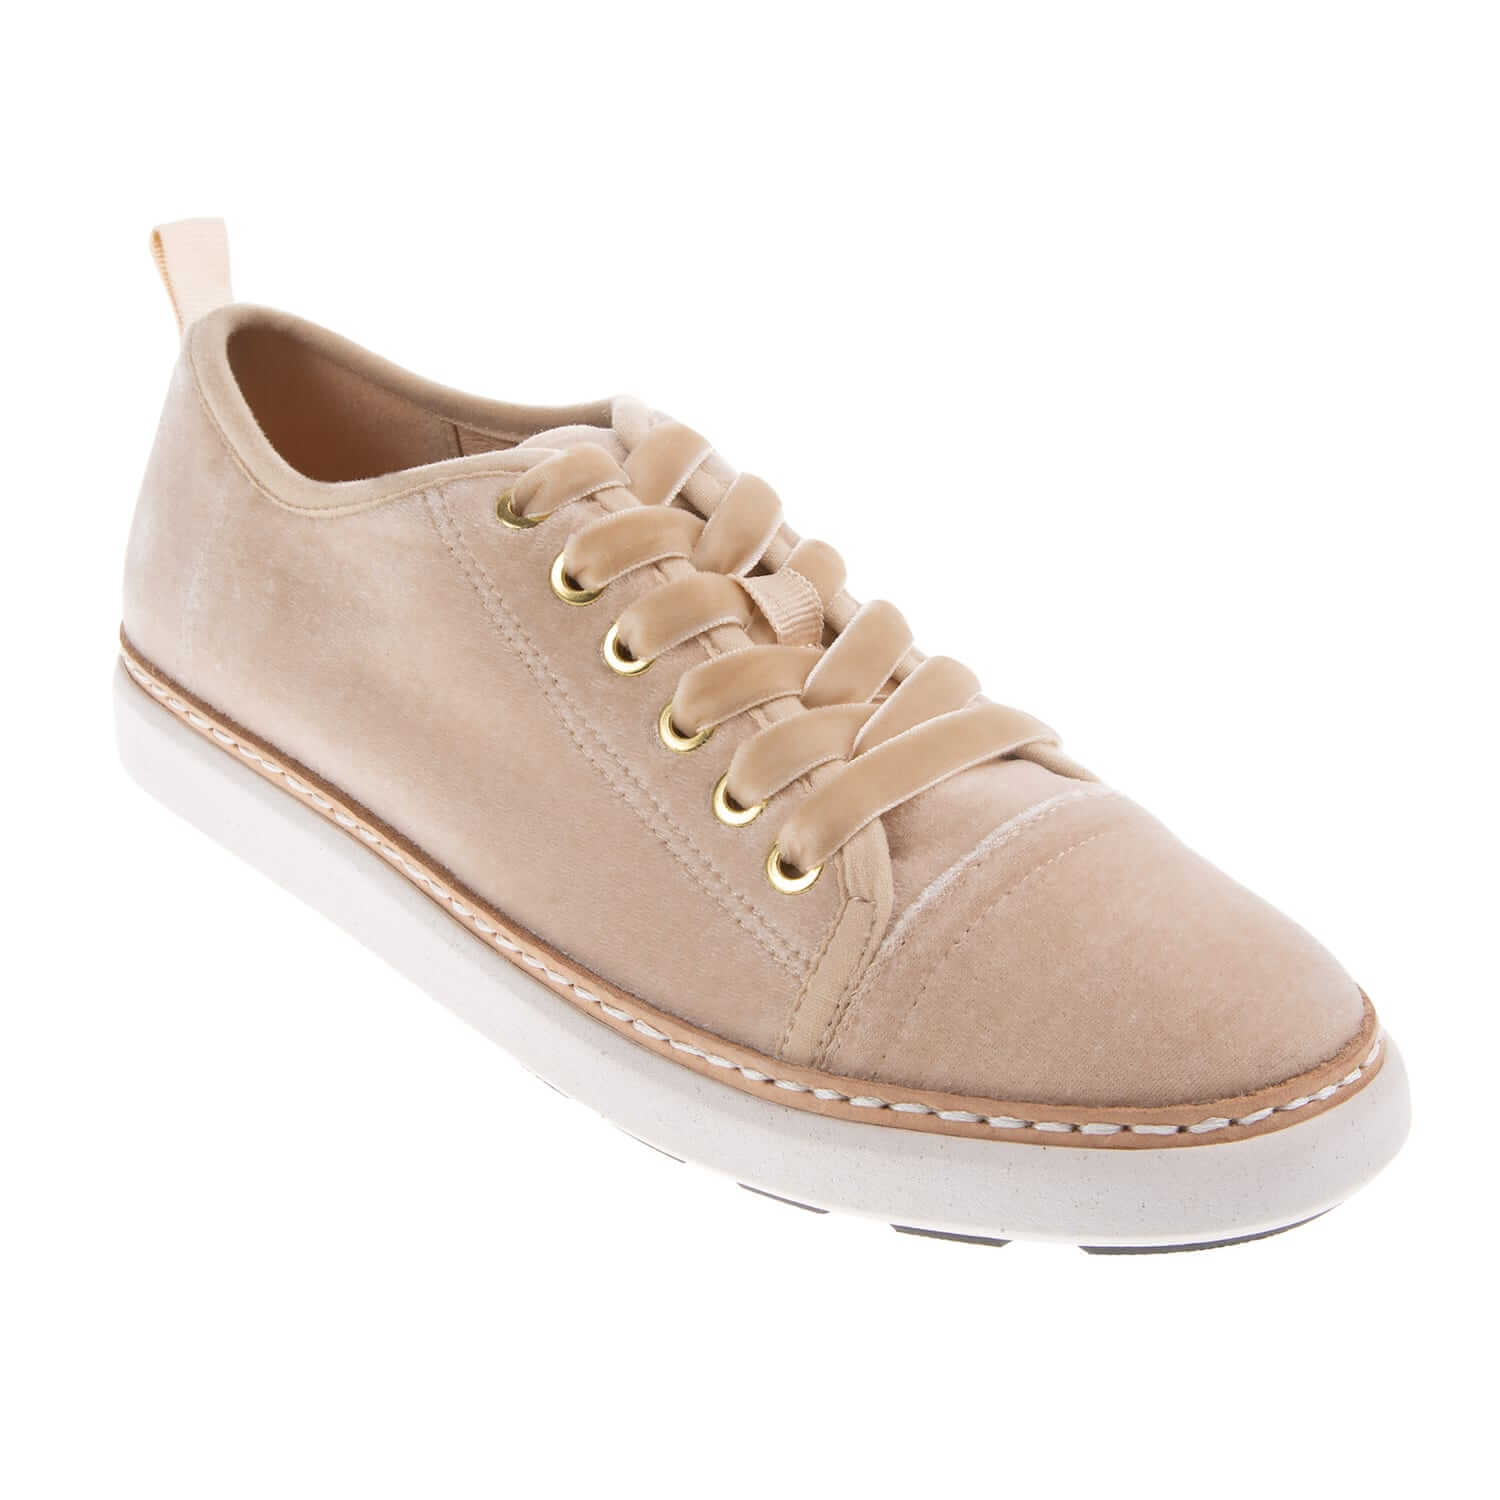

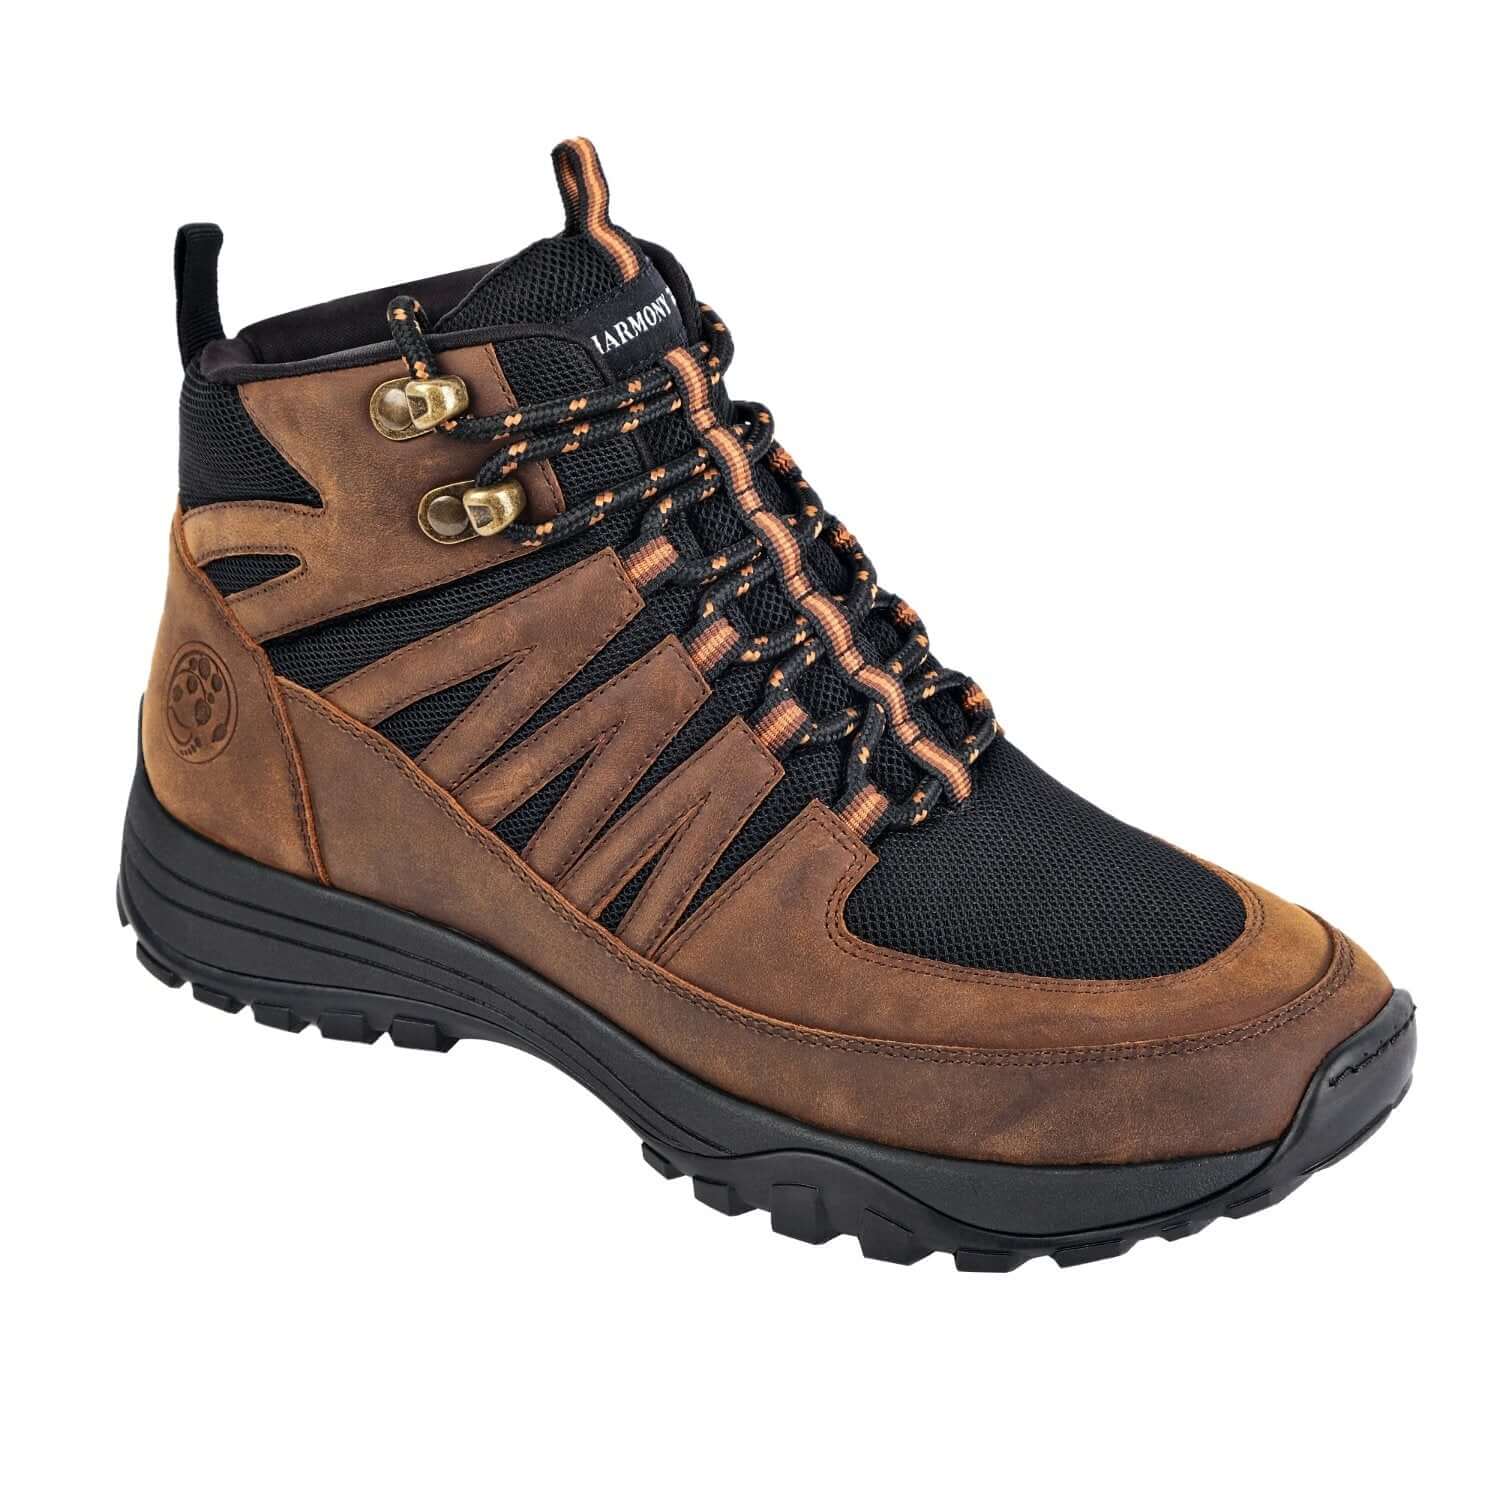
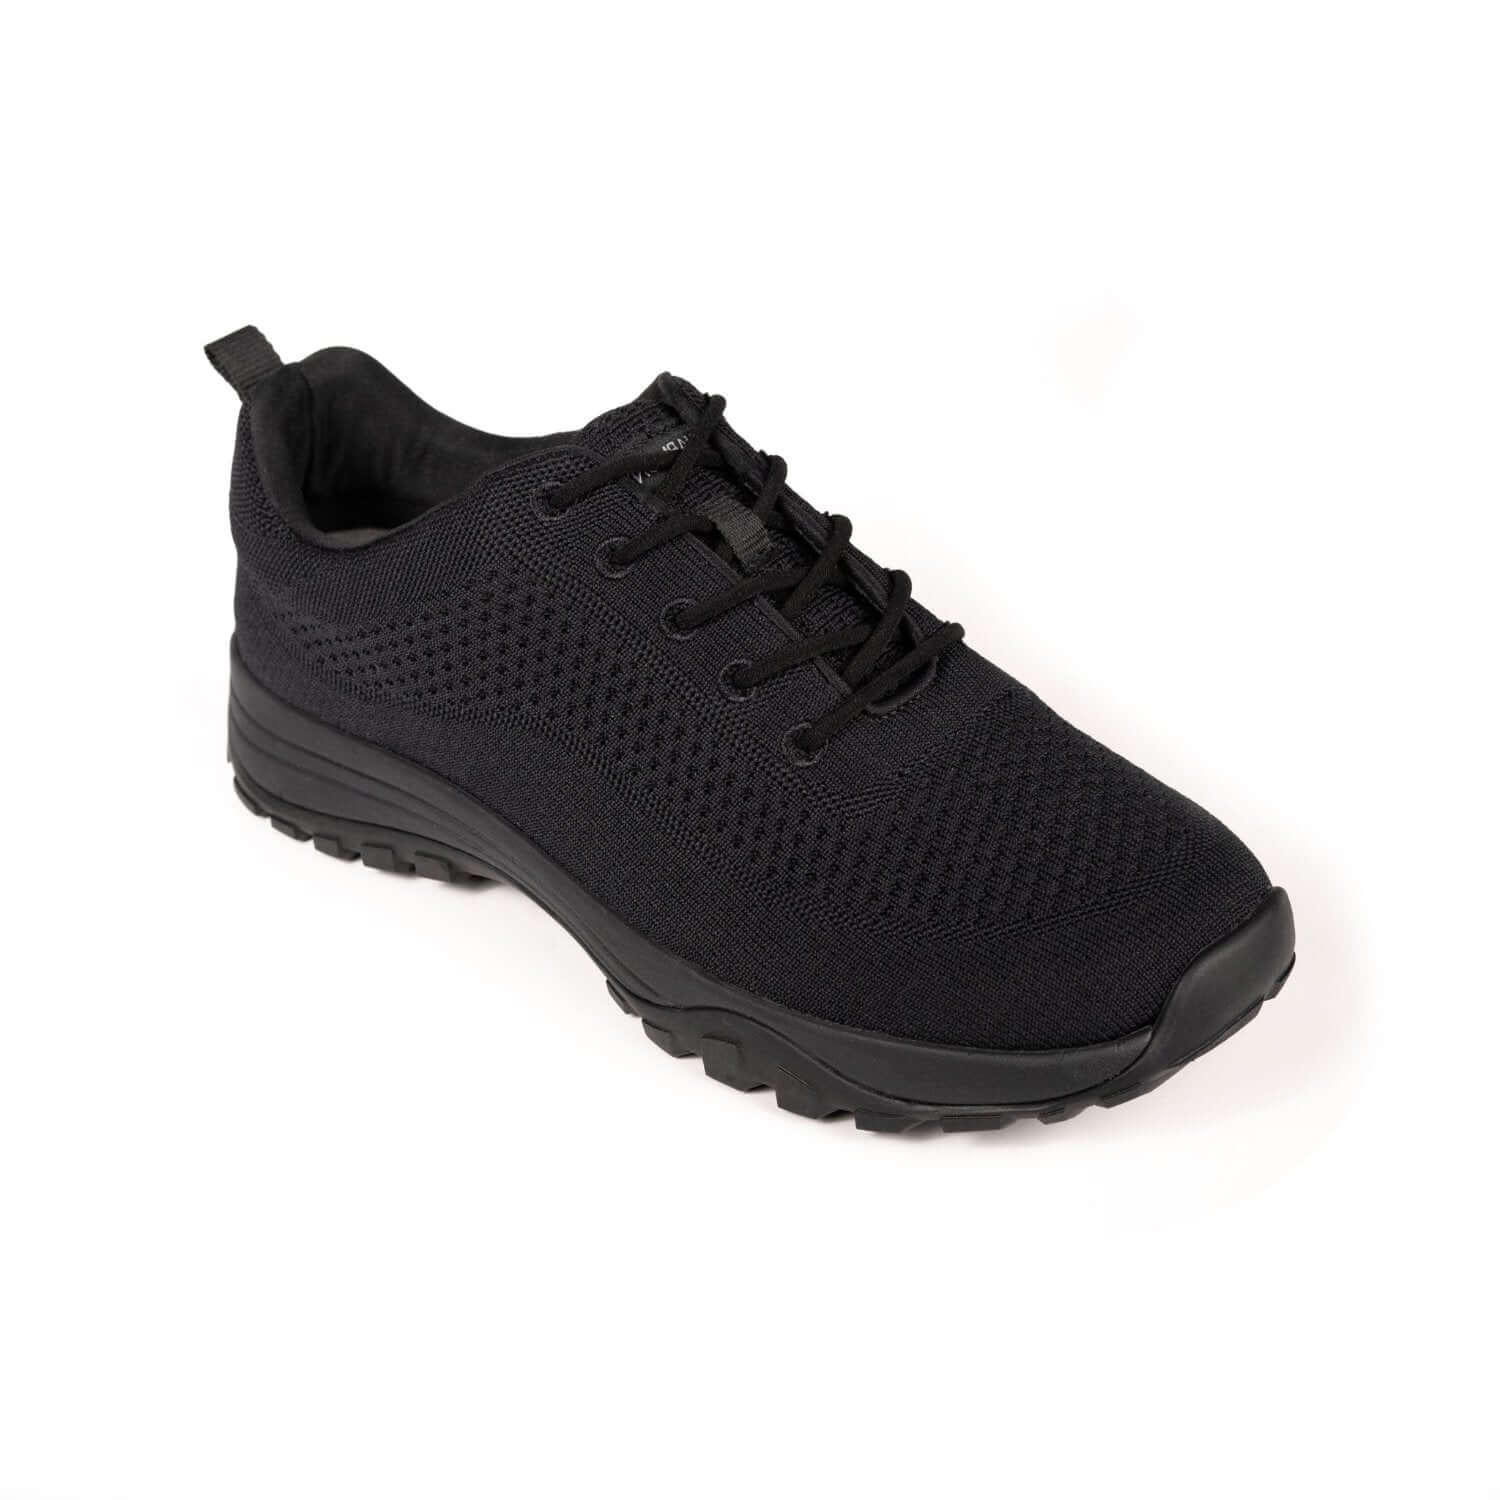
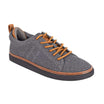
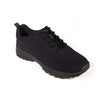
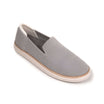

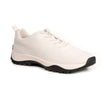



A grounding shoe should have a continuous conductive path from the footbed to the outsole. You can check that path at home with a basic multimeter instead of relying on appearance or guesswork. Read our best grounding shoes buying guide for a broader look at construction, fit, and features.
Browse the collection of grounding shoes and pick a pair whose conductive design you can test and trust.
To test grounding shoes conductivity, set a multimeter to its lowest ohms setting. Touch one probe to the conductive footbed and the other to the conductive outsole, then look for a low, stable resistance reading that shows the path is continuous.
That simple measurement focuses on the electrical connection itself. Research reports that currents between the Earth and a grounded human body are very small. So a low-resistance path matters more than a shoe's style or surface appearance (academic research). Before testing, it helps to understand why this check can clarify whether your footwear is doing what it was designed to do.
Why It's Worth Testing Your Grounding Shoe Conductivity
Buying grounding shoes often comes with one practical question: are they actually making a conductive connection? Testing gives you a clear answer instead of asking you to rely on appearance, marketing language, or personal assumptions.
It turns uncertainty into confidence
Grounding footwear works through continuity. A conductive part inside the shoe must connect with the sole outside. If that path is interrupted by an insulating layer, worn material, or a construction problem, the shoe may look right while failing to conduct.
A simple resistance check helps you confirm what you bought. That matters if you are skeptical, trying a new pair, or comparing footwear designs. It can also help you spot a problem early, before frustration turns into an unnecessary return. A test does not prove a medical outcome. It answers a narrower and useful question: does the conductive path remain intact?
Small currents still require a complete path
The electrical currents involved in contact between the earth and a grounded human body are very small, in the nanoampere range. The body itself can conduct charge when it contacts a grounded surface. For that exchange to occur through a shoe, however, the footwear must provide a continuous route from the foot to the ground. Read the research on earth-body electrical currents.
This is why conductivity is the sensible starting point when evaluating grounding shoes. It separates the shoe's electrical function from expectations about how you may feel while wearing it. A low-resistance result supports confidence that the footwear is built to conduct. A high result gives you a reason to inspect the contact points, clean the sole, or contact the seller.
For more context on materials, fit, and the features that matter before you buy, see our best grounding shoes for men buying guide.
What You Need to Test Grounding Shoes Conductivity at Home
You do not need a lab setup to check the conductive path in a pair of grounding shoes. A standard digital multimeter can measure resistance from the conductive footbed to the outer sole. The goal is to test the shoe itself, not an outside route through a table, floor, or your body.
- A digital multimeter: Set it to the lowest resistance setting, measured in ohms.
- A clean, dry cloth: Use it to remove dust or residue from the contact points before you test.
- A dry, non-conductive work surface: A clean wooden or plastic surface helps keep the reading focused on the shoe.
- The grounding shoe: Make sure you can reach both the conductive contact inside and the conductive material on the outer sole.
Check the multimeter before testing
Start by checking the meter itself. Touch the two metal probes together firmly. The display should show a reading near zero ohms. This short-probe check confirms that the meter and leads are working as expected before you measure the shoe. If the display shows a high value, an error, or no stable reading, check the leads, batteries, and setting first.
Next, wipe the inside contact and the sole contact with the clean, dry cloth. Dirt, debris, or residue can interfere with the connection and make the result harder to interpret. Do not add water to the test. Moisture can create an external path and change the reading.
Control the testing environment
Keep the shoe on the dry, non-conductive surface while you work. Avoid metal tables, damp floors, wet cloths, and contact with your hand between the probes. These precautions reduce outside paths that could skew the measurement. A controlled setup lets you evaluate the shoe's internal conductive route more clearly.
With the meter checked and the contact points clean, you are ready to measure resistance from the footbed to the outer sole. For broader guidance on choosing conductive footwear, see our grounding shoes cost guide.
Step-by-Step: How to Test Grounding Shoes Conductivity With a Multimeter
A multimeter can show whether there is a continuous electrical path through the shoe. You are checking the resistance from the inside contact point to the outer sole, not testing the shoe on a floor or other ground surface. Work with the shoe dry and empty so the probe contact points stay consistent.
- Prepare the multimeter. Set the meter to its lowest resistance setting, marked with the ohms symbol. Touch the two probe tips together. The display should show zero or a very small value. This confirms that the meter and leads are working before you test the shoe. If the reading is unstable, replace the battery or check the probe connections.
- Find the inside contact point. Remove the regular insole if it hides the conductive footbed. Place one probe firmly against the conductive insole or footbed inside the shoe. Use the same spot for repeat tests. A loose or inconsistent contact can create a misleading reading.
- Find the outside contact point. Place the second probe on an exposed conductive area of the outsole or sole. Choose a clean, solid contact point. Do not press the probe against painted, coated, or visibly insulated material if another conductive area is available.
- Read the resistance. Hold both probes steady and watch the display. A low reading supports continuity through the shoe. Record the number, along with the exact points where you placed the probes, so you can compare the result later. This insole-to-outsole method is the standard approach described for checking grounding shoe conductivity: measure resistance between the internal conductive contact and outer conductive sole.
- Account for the full path. The meter reads the combined resistance of every conductive layer between your two probes. That includes the insole or footbed, internal conductive elements, and sole material. In other words, the total reading is the sum of the layers from the foot contact to the ground contact. A high or open reading means the path may be interrupted, insulated, or making poor contact.
Test both shoes separately. If one result differs sharply from the other, clean the contact areas and repeat the measurement using the same probe positions. Consistent placement matters because contact resistance can affect the result.
What Conductivity Results to Expect From Harmony 783 Shoes
Answer: A properly functioning pair should show a low-resistance, continuous path from the conductive footbed to the outsole when tested with a multimeter.
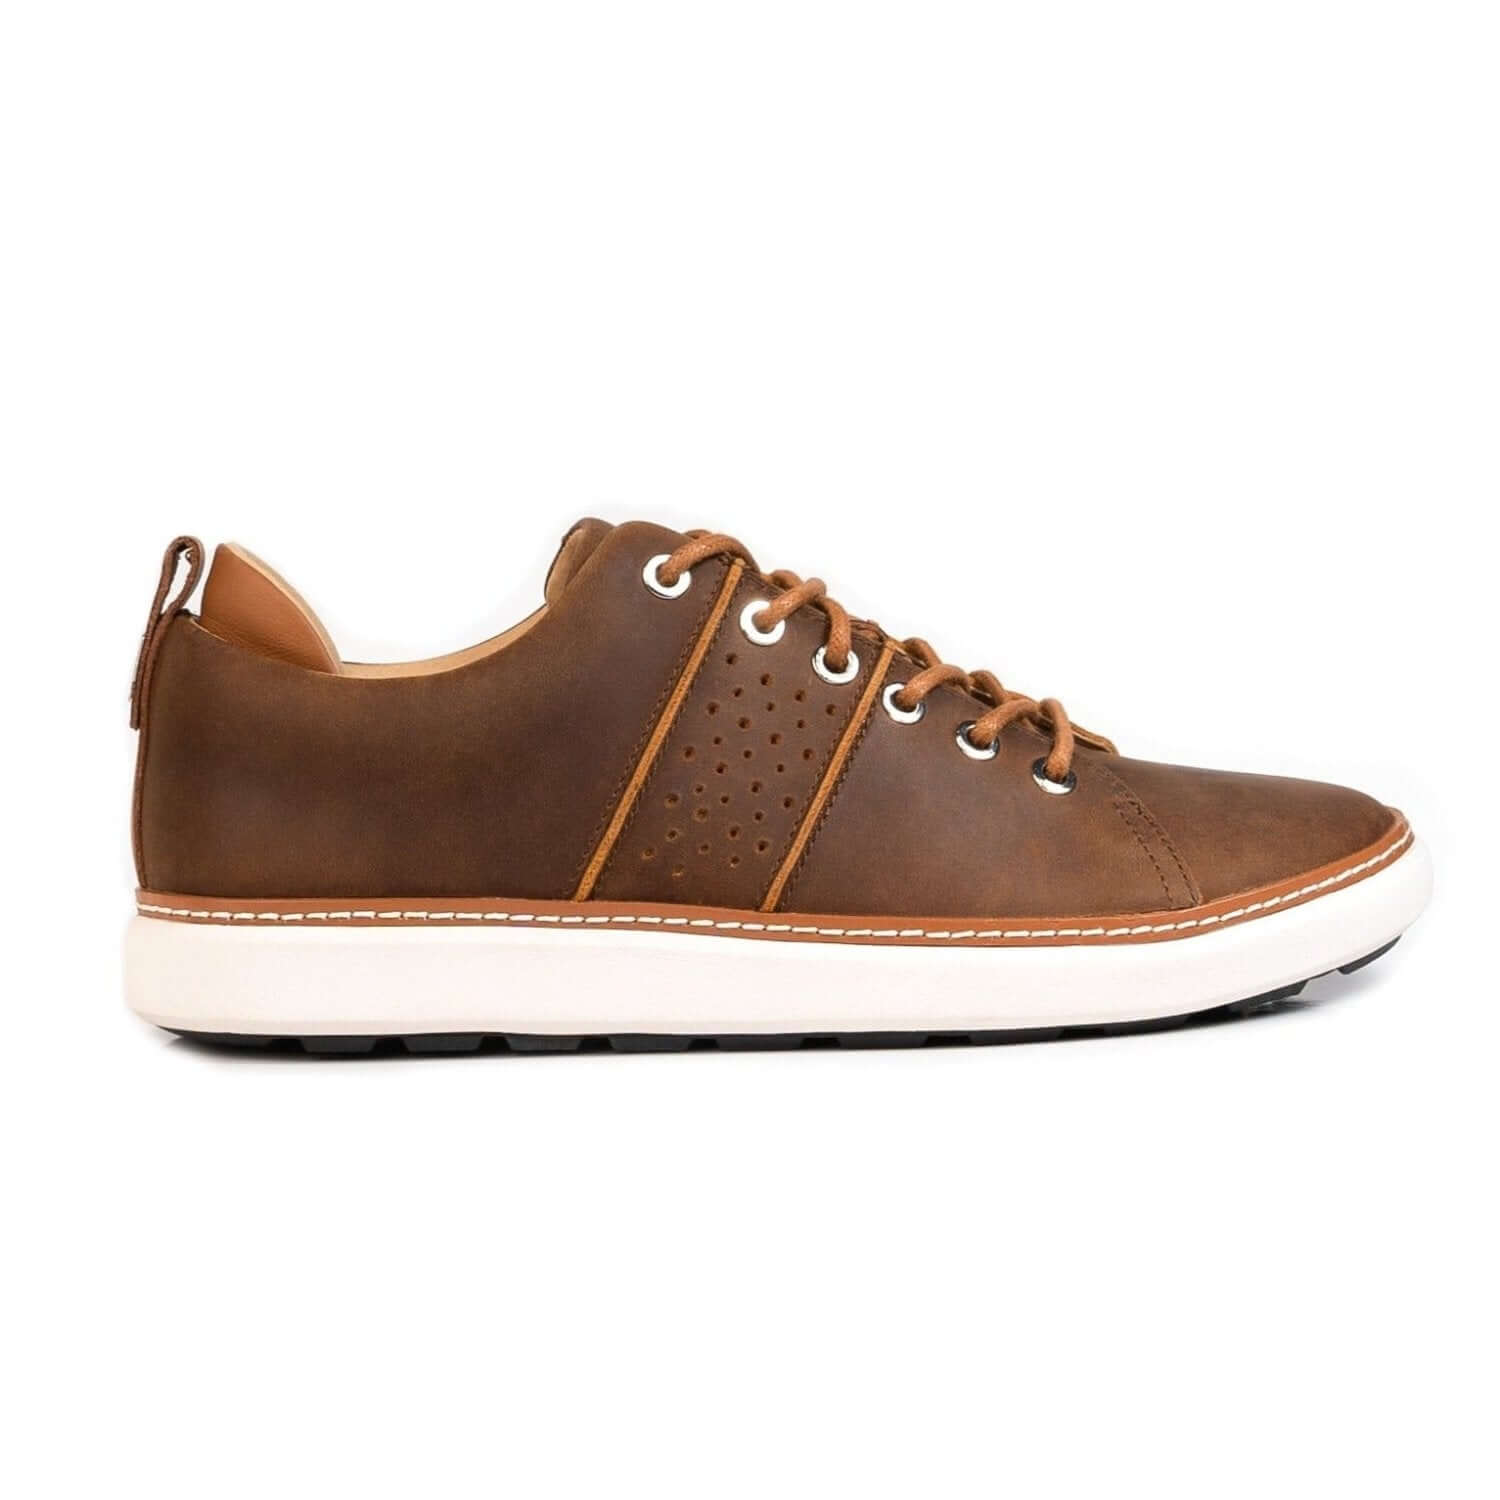
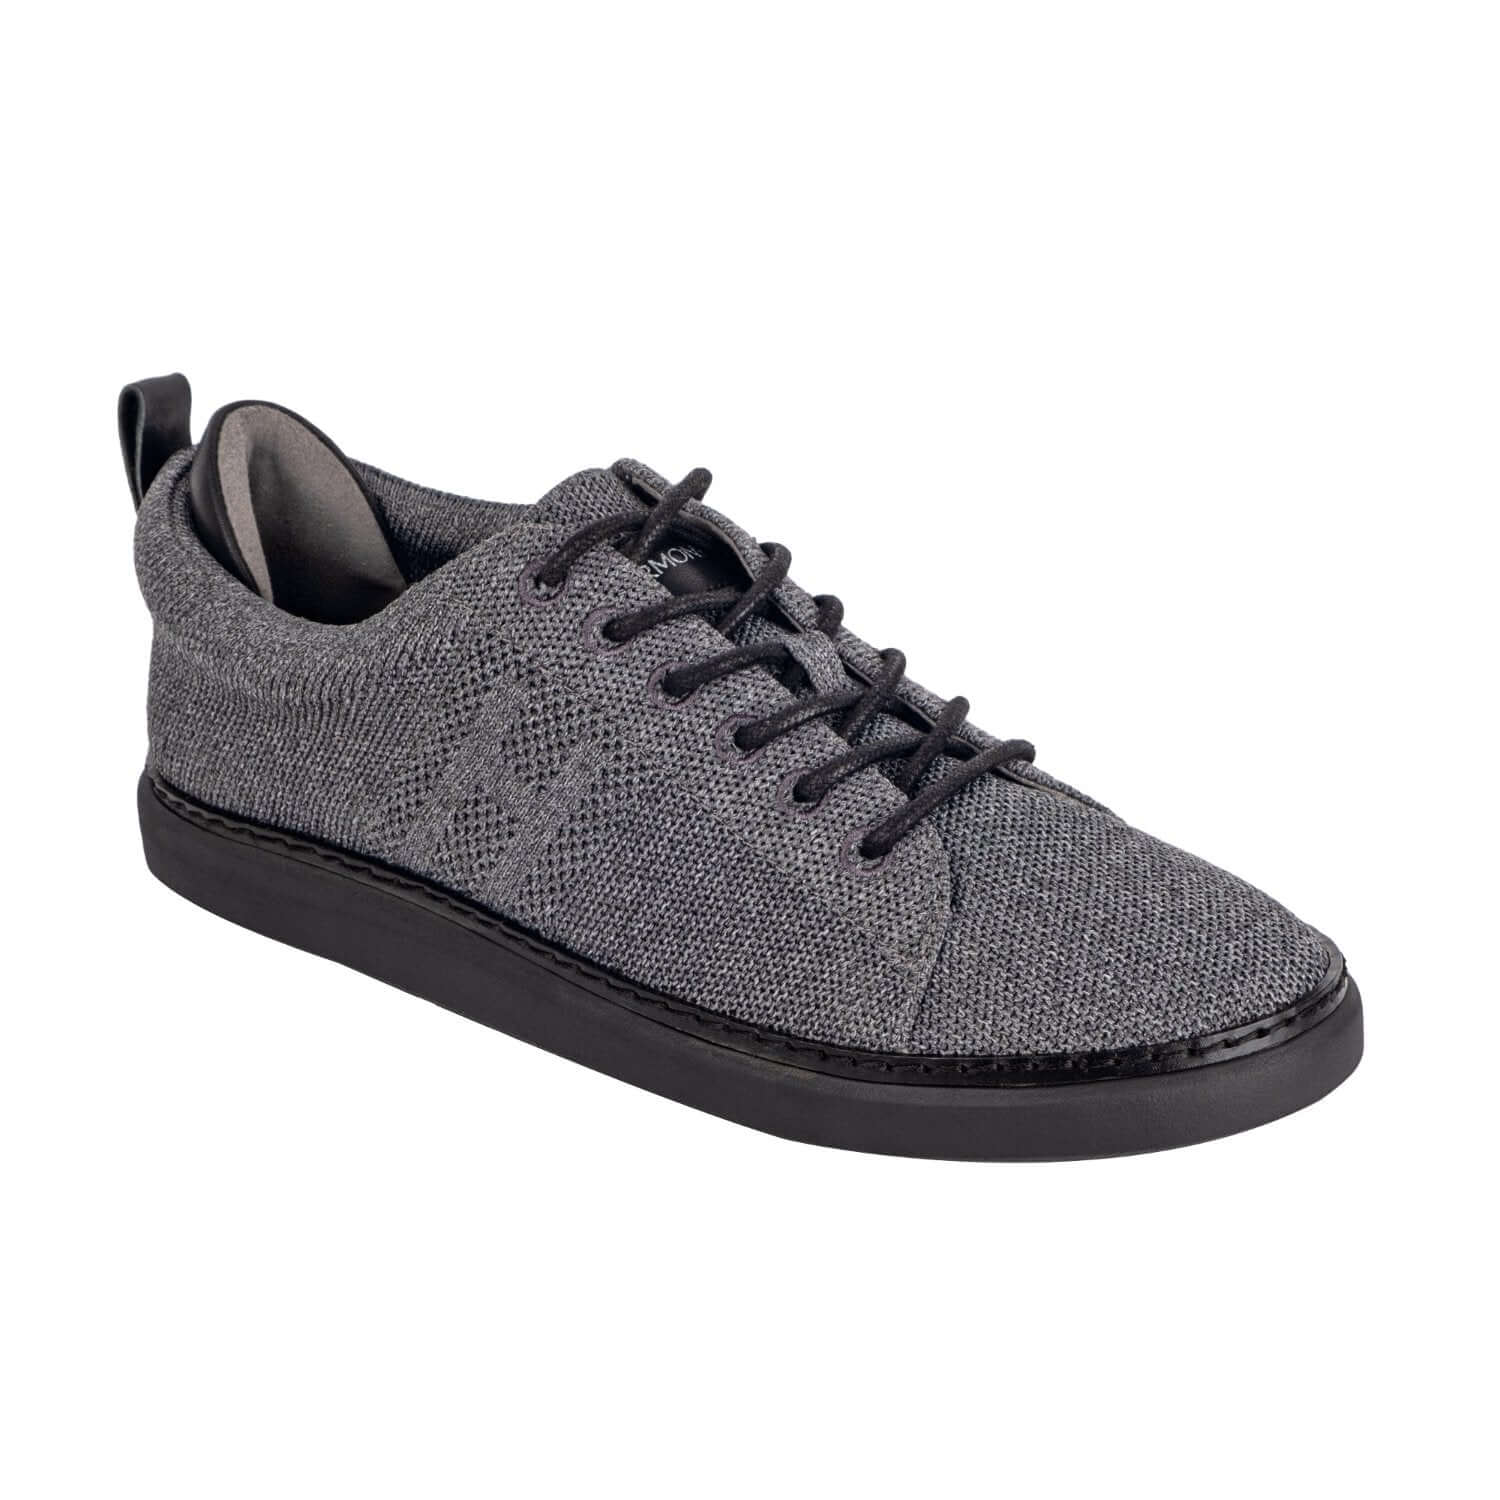
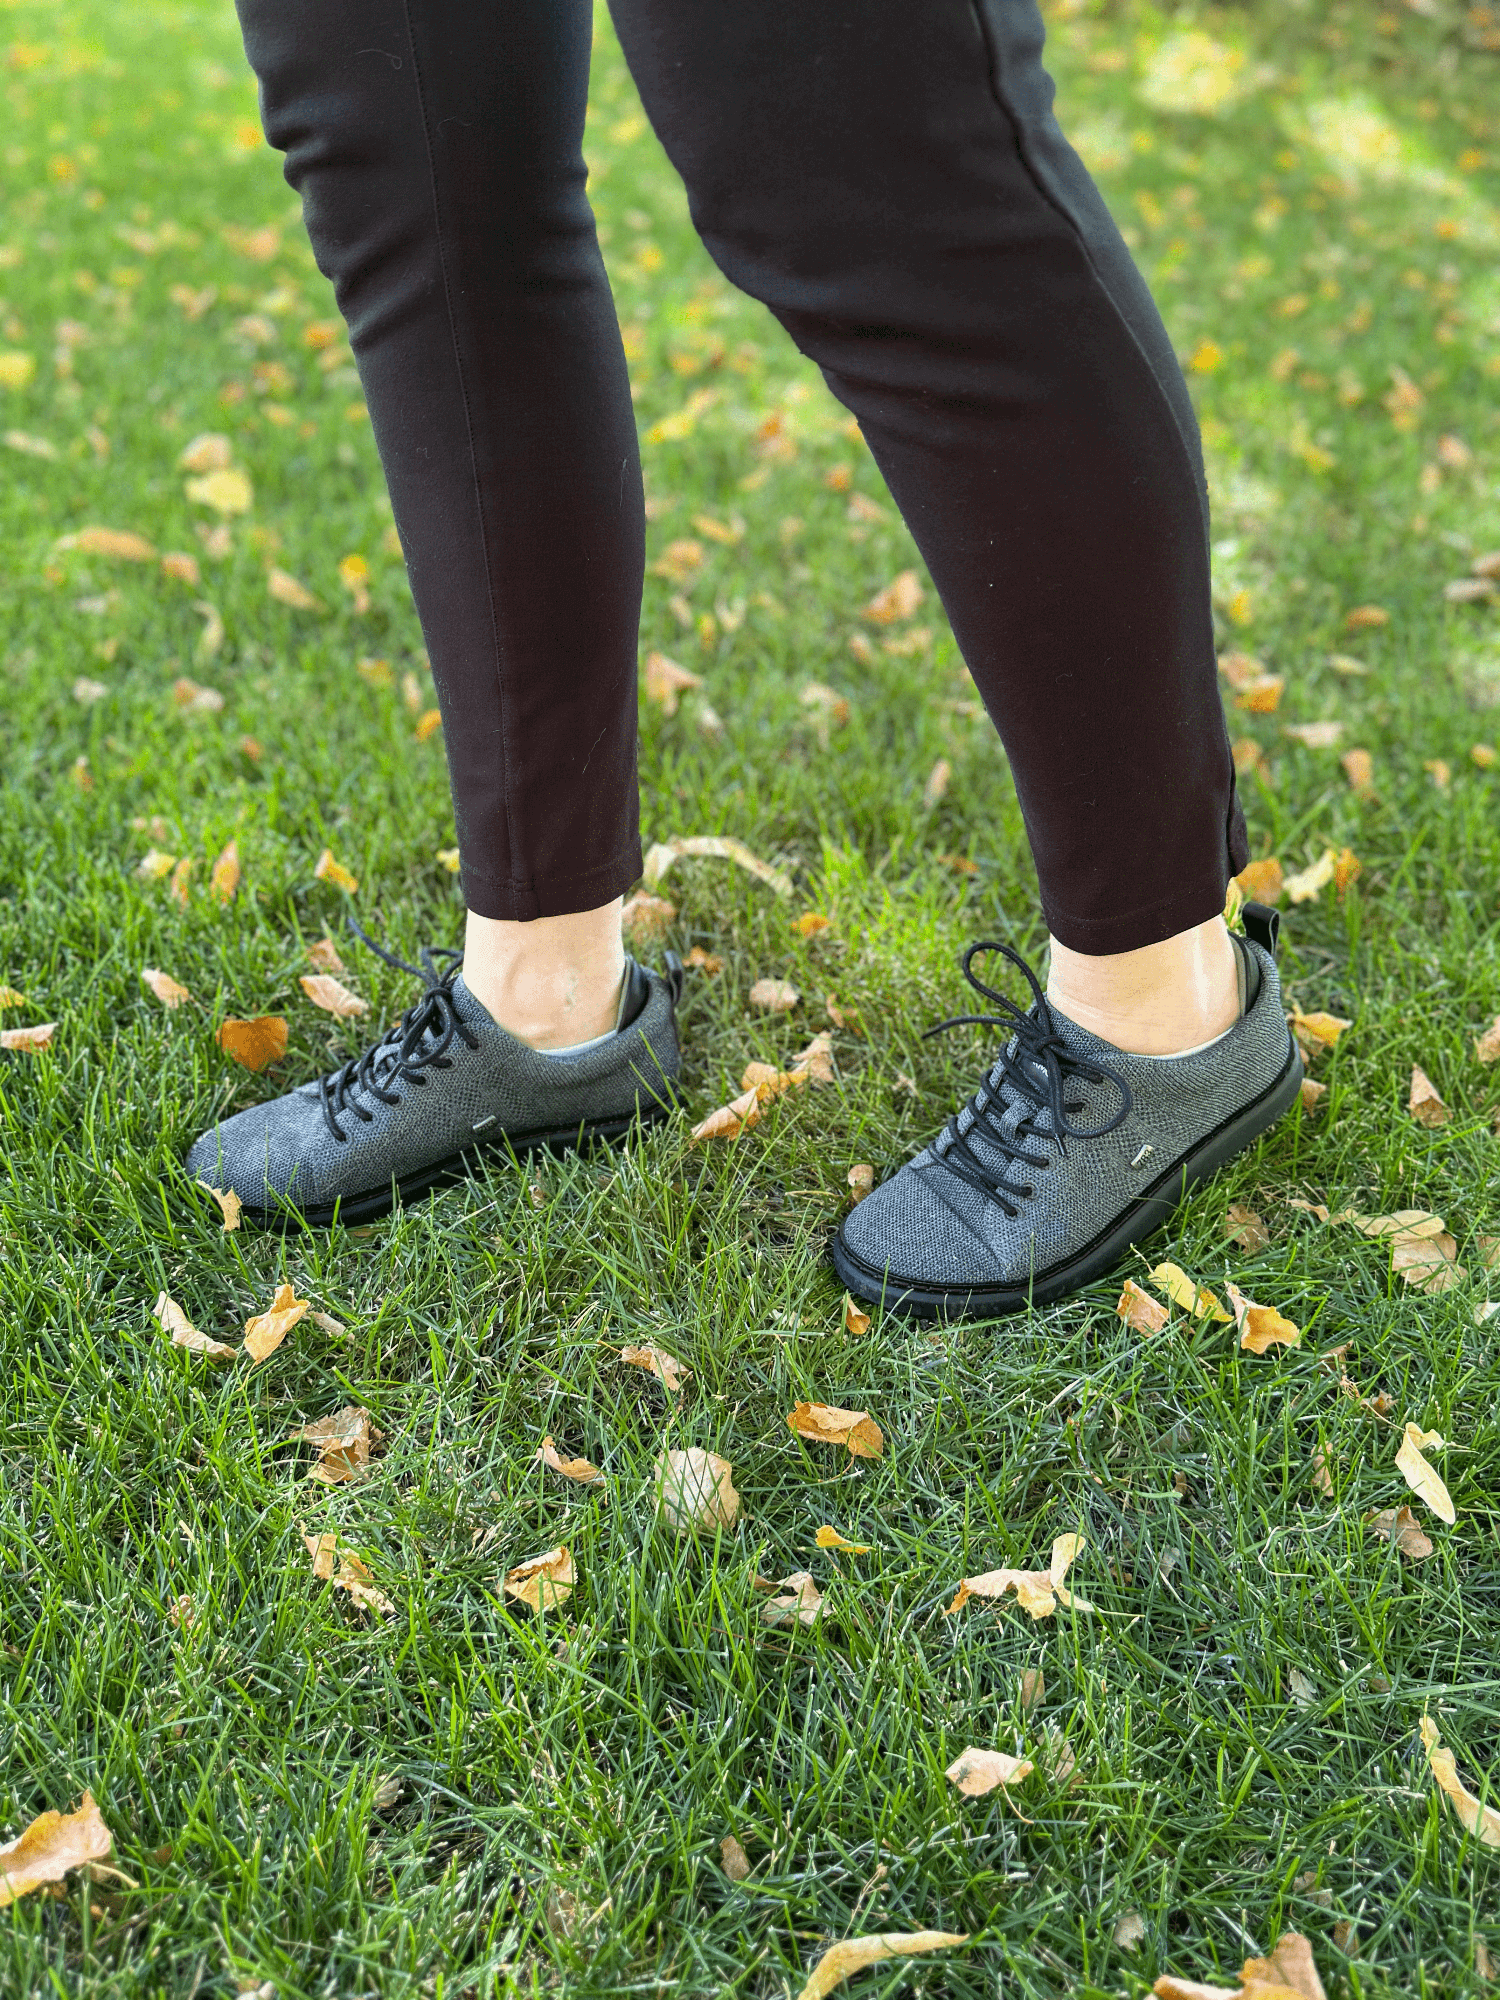
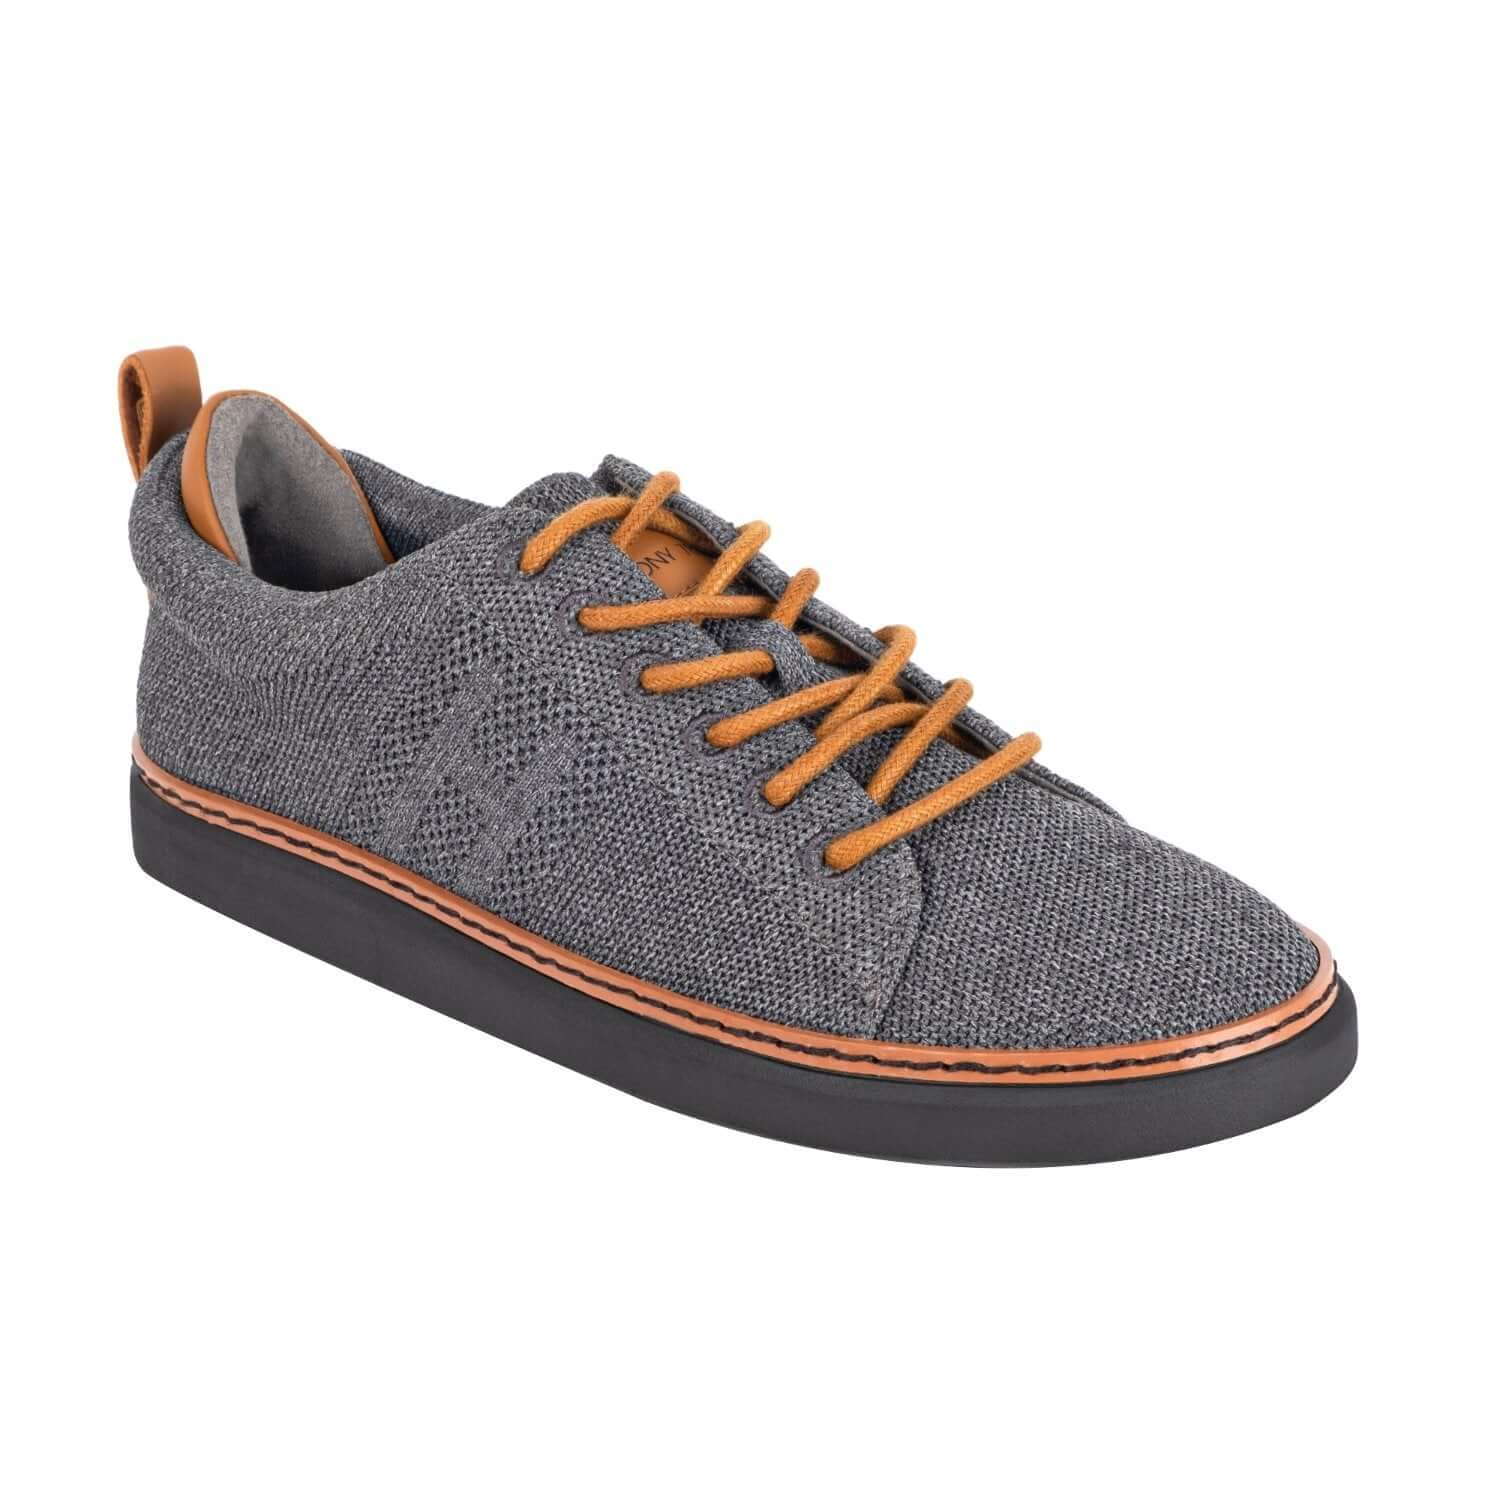
Harmony 783 shoes are built with a proprietary five-layer Groundworks system. The conductive path includes a pure silver-stitched footbed, a silver-stitched lasting board, and a carbon-rubber outsole. These layers work together to connect the inside of the shoe with the surface below it.
That design reflects a basic principle of grounding footwear: function depends on an unbroken conductive path from the foot-contact area to the outside sole. A continuous path is the hallmark of a functional grounding shoe design (source).
What should a passing reading look like?
Place one probe on the conductive area inside the shoe and the other on the conductive outsole. The exact number can vary with the meter, probe pressure, and contact points. Focus on whether the reading stays low and consistent rather than jumping into a very high range.
- Low resistance across the insole-to-outsole path.
- A stable reading when both probes remain in place.
- Continuity from the silver-stitched footbed to the carbon-rubber outsole.
- No sudden jump into the megohm range.
Harmony 783 factory-tests every pair for conductivity before shipping. You can still test your shoes at home, especially after extended use or if a reading seems unusual. The carbon-rubber outsole is designed to conduct without relying on moisture as a mediator (source). In other words, you should not need to wet the sole to create a passing result.
What if the result is inconsistent?
First, check that the probes are touching the intended conductive points. Clean dirt or buildup from the outsole, then test again. A broken or insulated path can produce extremely high resistance, including readings in the megohm range. That result does not automatically mean the shoe is defective. It may point to poor probe contact, surface buildup, or wear in the conductive materials.
For a closer look at how these shoes perform in daily use, see our Harmony 783 grounding shoes review.
How to Interpret the Readings and What They Mean
The number on your multimeter shows whether the shoe has a continuous conductive path from the footbed to the sole. A low reading usually means the path is intact. A very high reading suggests a break or insulation somewhere in the shoe.
| Reading | What it usually means |
|---|---|
| Near zero ohms | The conductive path is intact and the shoe is grounded. |
| Low, stable resistance | Electricity flows through the shoe with little resistance. |
| Megohm range | The path is broken, insulated, or not making proper contact. |
| Unstable or jumping | Probe contact is loose, or the sole needs cleaning. |
What a low reading tells you
Set the multimeter to resistance, then compare the reading across the same footbed-to-sole path used in the test. Very low resistance, close to zero ohms, means electricity can travel through the shoe with little resistance. That is the result you want when you test grounding shoes conductivity.
The reading does not measure a health effect. It checks the shoe itself. Grounding depends on a low-resistance connection to Earth. The human body is naturally conductive, so the shoe is the key link between your foot and the ground. Research on earthing and electrical conductivity describes both the body's conductive properties and the very small currents involved.
What a high reading means
A reading in the megohm range is a warning sign. It usually means the conductive path is broken or insulated. The problem may be inside the shoe, at the footbed, or where the probe touches the outsole. Do not assume the shoe has failed after one reading. First, check the contact points.
- Clean dirt, dust, and salt from the outsole.
- Make sure both probes touch conductive material, not fabric or a non-conductive coating.
- Check the conductive insert for oxidation, wear, or visible damage.
- Repeat the test with firm, steady probe pressure.
Dirty contacts, salt buildup, and an oxidized conductive insert can create a false failing result. These materials may insulate the contact point even when the conductive path inside the shoe remains intact. After cleaning, test again. If the reading stays extremely high, the path may have degraded or separated.
For broader buying and construction guidance, see our best grounding shoes buying guide.
When Conductivity Fades: Care Tips to Keep Earthing Performance
A grounding shoe depends on an unbroken path from the foot-contact point to the outer sole. That path can change with daily wear, repeated compression, and material build-up. A quick care routine helps you spot problems before they affect your test results.
What causes a conductive path to weaken?
Conductive materials can lose performance over time as they flex, compress, and wear down. Damage is not always easy to see. A sole may look usable while its conductive contact has become less reliable. If a multimeter reading changes sharply from an earlier test, inspect the sole, insole, and contact points for wear or oxidation. The research supporting basic grounding-shoe testing identifies wear, tear, and compression as possible causes of reduced conductivity: review the testing reference.
How should you care for the sole?
Dirt, debris, and salt can form an insulating layer over the conductive outsole. That layer may interrupt contact even when the shoe itself is in good condition. Clean the sole gently and let it dry fully before testing or wearing it. Avoid harsh treatment that could damage the outsole or loosen its conductive components.
- Brush away loose dirt after walks on dusty or gritty ground.
- Wipe away salt or residue with a clean, slightly damp cloth.
- Inspect the outsole for deep wear, cracks, or a damaged contact point.
- Retest the insole-to-outsole path after cleaning if a reading seems unusually high.
- Keep each shoe's insole and conductive contact area clear of buildup.
Regular sole cleaning is recommended to help preserve the conductive connection. If cleaning does not restore a low reading, the conductive path may need repair or replacement rather than more cleaning.
Does the surface affect grounding performance?
Yes. The ground surface also matters. Thick insulating materials, such as dry plastic rugs or dry carpet, can reduce the connection even when the shoe is working correctly. Conductivity varies by surface, so compare results or experiences on a surface that can support grounding instead of assuming every indoor floor will behave the same. For care and maintenance steps, see our guide to cleaning grounding shoes.
Frequently Asked Questions
How can I test the conductivity of my grounding shoes at home?
Set a multimeter to its lowest resistance, or ohms, range. First touch the probes together and confirm the meter reads close to zero. Then place one probe on the shoe's conductive insole or footbed and the other on the conductive point of the outsole. A low, stable reading shows continuity across the shoe. This insole-to-outsole method is described in the shoe conductivity testing guidance.
What equipment do I need to test grounding shoe conductivity?
You need a standard digital multimeter with a resistance setting and its two probes. Test on a dry, non-conductive surface so the reading reflects the shoe rather than an outside path. Clean visible dirt from the sole first, then check the meter by touching the probes together. No special grounding device is required for this continuity check.
What does a high resistance reading mean?
A very high reading, including a result in the megohm range, usually means the conductive path is broken or insulated. Check that both probes touch the intended conductive points. Then clean the outsole contact and inspect the insole or insert for oxidation, wear, or damage. If the reading stays high, the shoe may no longer have a continuous path. See the technical reference on grounding footwear resistance.
How often should I test my grounding shoes?
Test them when you first receive them, after heavy use, and whenever the sole shows noticeable wear or the reading changes. Dirt, salt, compression, and normal wear can affect conductive materials over time. Periodic checks help confirm that the path from the footbed to the outsole remains continuous. Clean the sole before retesting so surface buildup does not create a false failure.
Test Your Own Harmony 783 Shoes Today
You do not need to trust a label or a review to know your shoes are working. A few minutes with a simple multimeter can show you the conductive path that connects your feet to the earth. Harmony 783 grounds every pair through its 5-layer Groundworks system, and each shoe is factory-tested for conductivity before it ships.
If a test confirms that unbroken path and you are ready to feel grounded on your next walk, browse the collection of grounding shoes and find a style that fits your day.